How To Repair A Pool Skimmer
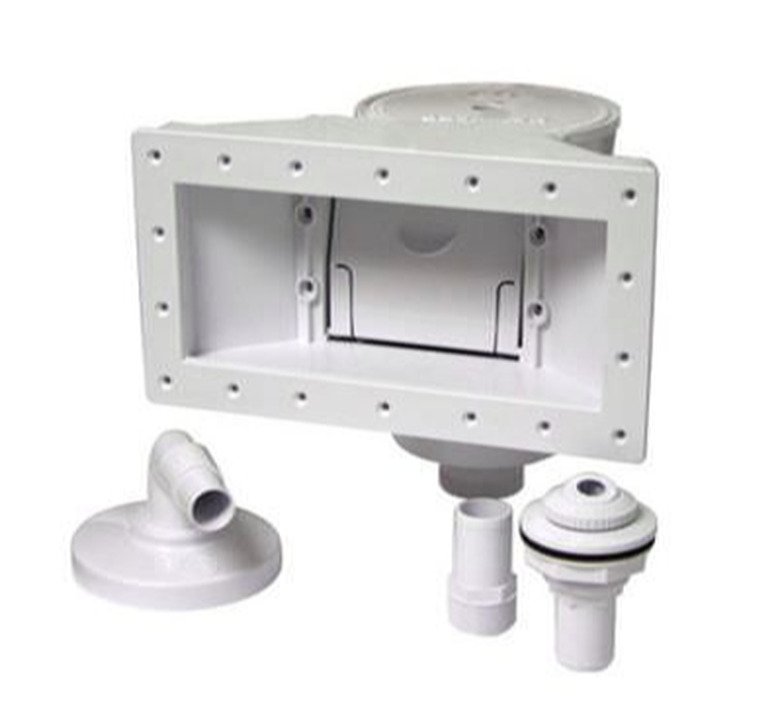
The purpose of the pool skimmer is to catch the larger debris from your pool water as it begins its path circulating through the pool's filter system. About 75 percent of the pool water flows through the skimmer as it makes its way to the filter, so water leaks in the skimmer can be a serious problem. In a gunite and plaster pool, the skimmer is encased in concrete within the pool's bond beam. Here's how to repair an in-ground pool skimmer.
Things Needed
-
Simple Green
-
Foam-backed scrubbing pad
-
Red food coloring
-
Eye-dropper
-
Grease pencil
-
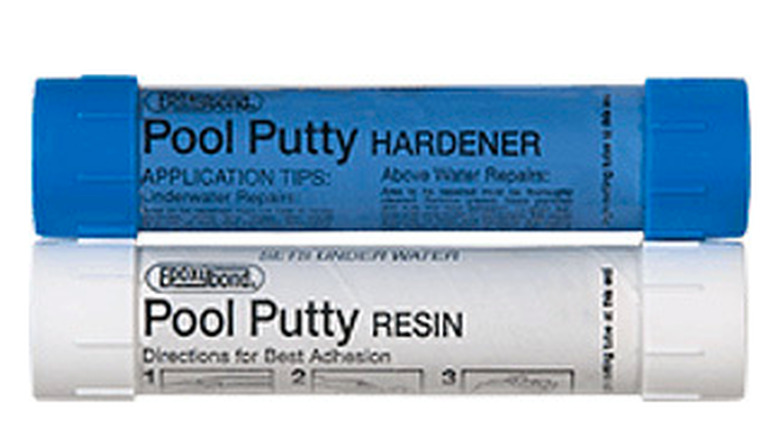
Epoxy putty
-
Wet/dry sandpaper
-
Silicone sealer
1. Identify the Source of the Leak
To identify the source of the leak, first turn the filter pump off.
- Take the lid off the skimmer, and remove the pump basket, the skimmer weir and the diverter, if it has one.
- Clean the walls and throat of any accumulated oils and dirt with a solution of Simple Green and a foam-backed scouring pad.
- Visually inspect all interior surfaces for cracks and breaks in the plastic.
- Fill an eye-dropper with red food coloring, and squeeze a small amount near any area you suspect might be cracked or pulled away from the pool wall. Try to disturb the water as little as possible so you can see if any of the food coloring is pulled into cracks or crevices. Work slowly, and observe each area you suspect one at a time before moving to a new spot.
- Mark any place the food coloring is drawn into, using a grease pencil.
2. Inspect the Plumbing Seals
Look down into the bottom of the skimmer. It will have either one or two holes, depending on your model. These holes are where the pool plumbing attaches to the skimmer. Most skimmers have threads inside the holes, and a copper or PVC threaded fitting screws into these ports.
Squirt food coloring just above the holes and see if any of it is pulled down into them. This indicates a leak, which may be caused by a poor seal between the skimmer threads and the fitting. If you put your finger into the holes, you should be able to feel where the top of the fitting meets the skimmer threads.
3. Inspect the Skimmer Throat
Look over the edge of the pool into the skimmer's throat. Look for cracked tiles, and pay particular attention to corners and the seal between the plastic skimmer and the pool's concrete shell. Squeeze small amounts of the food coloring on any places you find cracks or gaps. Mark these spots with the grease pencil.
4. Repair Breaks with Epoxy Putty
Repair any cracks or breaks in the skimmer walls with epoxy putty, which is designed to set up under water. Epoxy putty is a two-part product in which a resin is mixed with a hardener to produce a putty that can fill gaps and cracks.
- Before applying the epoxy, sand the area around it with the wet/dry sandpaper to ensure a good bond.
- Mix the epoxy resin and hardener to produce an appropriate amount of epoxy putty.
- Force the epoxy into the crack and smooth it with your fingers, spanning the entire length of the crack from top to bottom and side to side.
- If you suspect a leak at the connections in the skimmer holes, work epoxy completely around the top rim of the fitting where it is threaded into the skimmer hole. Force the epoxy into the threads and over the top of the fitting, and smooth this layer evenly all the way around the ridge of the fitting to seal it completely. Be careful not to run the epoxy all the way to the top of the hole — this will decrease the diameter of the hole at the skimmer bottom, and you won't be able to insert the vacuum hose cuff into the hole to vacuum the pool later.
5. Seal With Silicone Sealer
Use the silicone sealer to repair areas where the skimmer has pulled away from the pool wall, where the corners are cracked, and in tile cracks. These leaks are the result of a cracked bond beam or shifting soil from water getting into the ground around the skimmer. Silicone sealer is a better choice than epoxy if you suspect ground movement pressure is the cause of the problem. If the soil or bond beam continues to move, the flexible silicone will absorb movement without cracking or pulling away.
Lower the pool water to below the skimmer, and allow the area to dry. Use a caulking gun or squeeze tube to inject the silicone sealer into the cracks and gaps. Smooth the sealer before it sets up. Allow the silicone to set up overnight before refilling and starting the pool equipment.

